
Beginner
13 Valuable Analog Photography Tips For Beginners
If you’re starting to get into film photography, you probably have a question:
What’s the best way to get started and how do I quickly get the images and look I want?
How do I get started shooting analog?
Take as many photos as possible. You’ll quickly see the results improve with each opportunity. In general, make sure you prefer to overexpose a little and never underexpose (analog film is not forgiving there.) It’s best to buy cheaper (35mm) camera and film first to use for practice.
Of course, these are just a few tips. If you want to know the top 15 tips (which I wish I had known when I started), you’ve come to the right place!
So now let’s dive into the world of analog photography.
Tip 1: Get out there and shoot
As with anything really, improvement in analog photography comes simply from practice.
Of course, you can also learn a relatively large amount through videos (or blog articles), but the best advice is to go out and start taking pictures.
If your first pictures aren’t good, so what? Then just do it differently next time.
The fastest and best way to learn analog photography is simply trial and error. Try it out, look at the results, draw the right conclusions and maybe do it better next time.
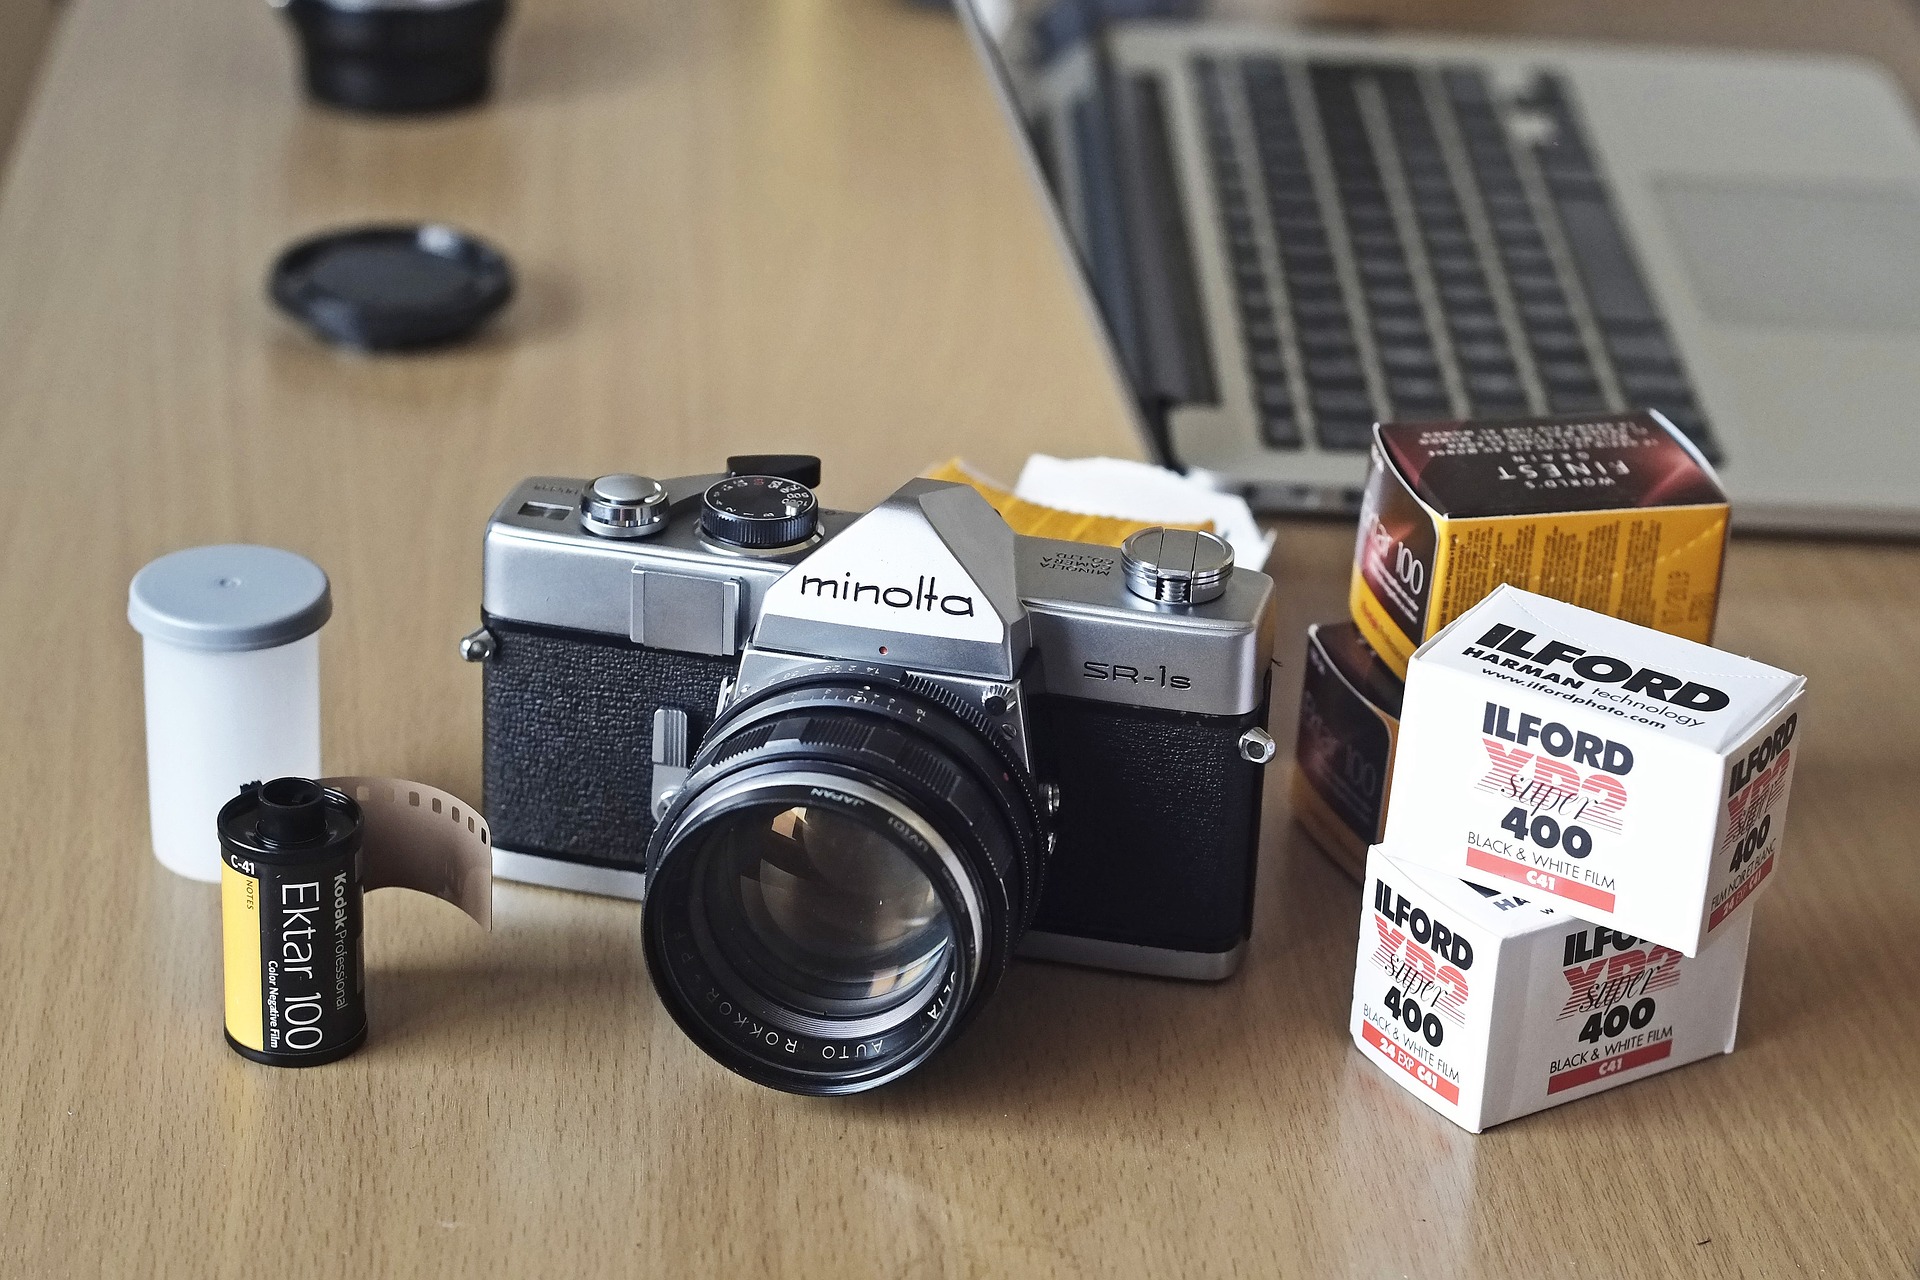
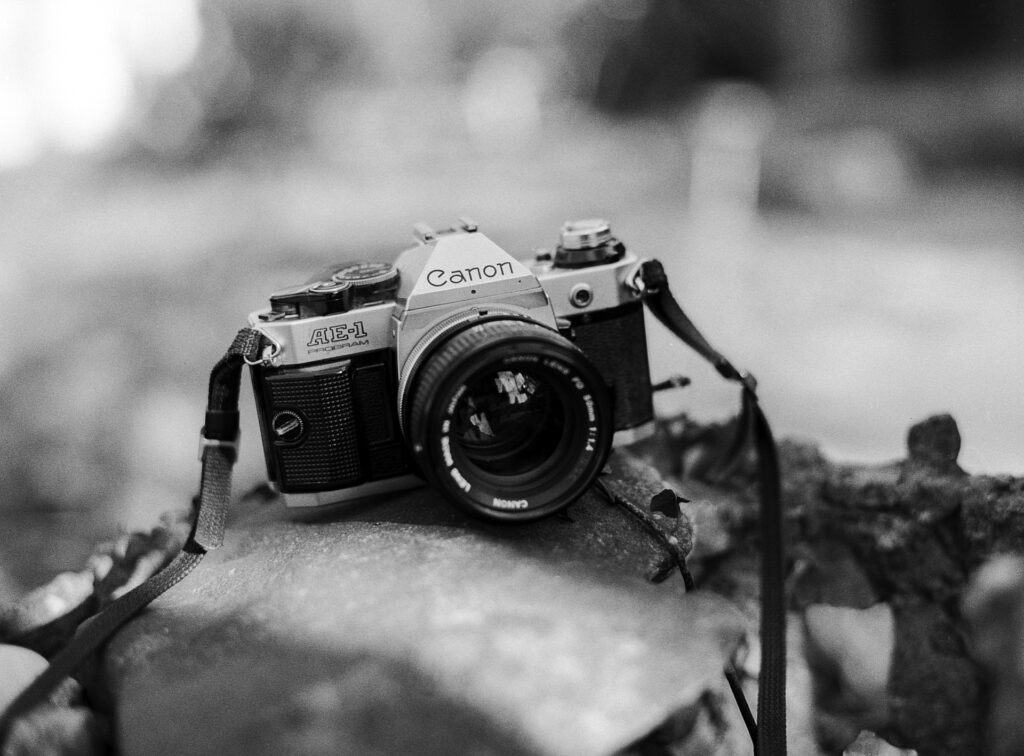
Tip 2: Start with a 35mm camera
There are 2 common formats: 35mm small format cameras and 120mm medium format cameras.
What is the difference between 35mm and 120mm cameras? Quite simply, 35mm film is 3.5cm wide, 120mm film is 12cm wide.
120mm film usually has a much higher resolution than 35mm film, but then why would you necessarily start with 35mm in the beginning?
Because of the higher resolution, medium format cameras are much more expensive than simple 35mm cameras (we’ll come back to this later).
More importantly, the films themselves are also more expensive. Most important is the fact that with 35mm film you can usually take 36 pictures at a time. With a 120mm film, usually only 12 or 16 pictures can be taken at the same time.
To get as much practice as possible, you should always start with 35mm cameras.

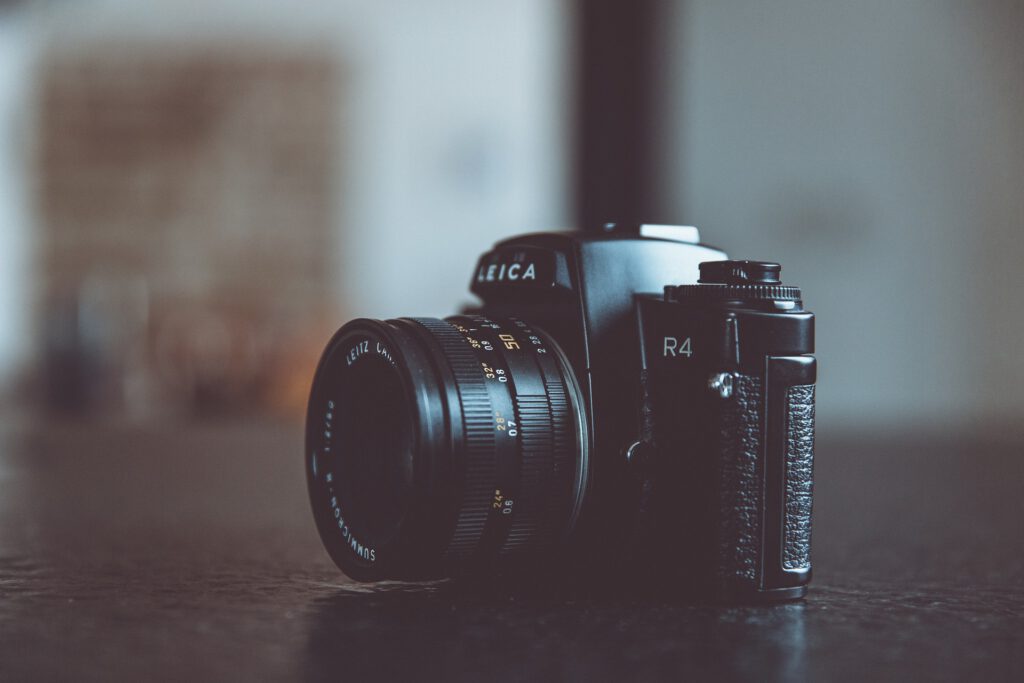
Tip 3: Equipment is not so important
Fantastic equipment is cool. And of course the idea of buying an analog Hasselblad or Leica (including Hasselblad or Leica lens) right at the beginning is appealing.
And it’s also true: these cameras are really cool.
If you want to know when a Leica is worth its money for you, you can click on this link.
But especially in the beginning it is more important for you to learn the basics first, for example to understand the interaction of aperture, shutter speed and ISO.
And trust me: You can do that with a cheap camera just as well as with a Hasselblad medium format camera.
(Whereby I myself am not completely innocent, my first analog camera was a Leica, about which I am still very happy).
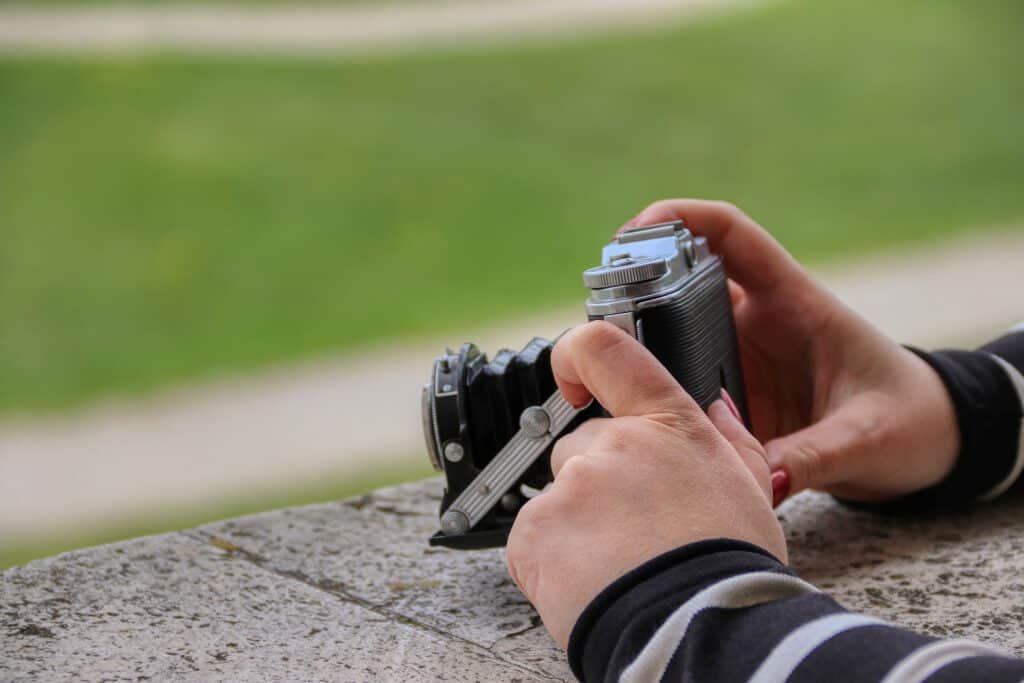
Tip 4: Buy/Use a manual camera
As you just read, equipment is basically not that important to get started.
However, there is one thing you should pay attention to: Make sure you buy a manual camera where you can decide shutter speed, aperture and the ISO (via the film you put in) yourself.
Of course, it’s not a no-go if your camera has an automatic mode on top of that, it’s just important that you can set everything manually as well.
If you shoot automatically all the time, you probably still won’t understand the interplay between ISO, aperture and shutter speed after a year, that’s why:
Just buy a manual camera!
Tip 5: Overexpose vs. Underexpose
Analog cameras are different than digital ones in this case. Analog film cameras don’t forgive mistakes if you underexpose, but if you overexpose (a little), it’s not a problem.
Of course, you should try to get the exposure right, but at the same time, if in doubt, you should overexpose a bit rather than underexpose.
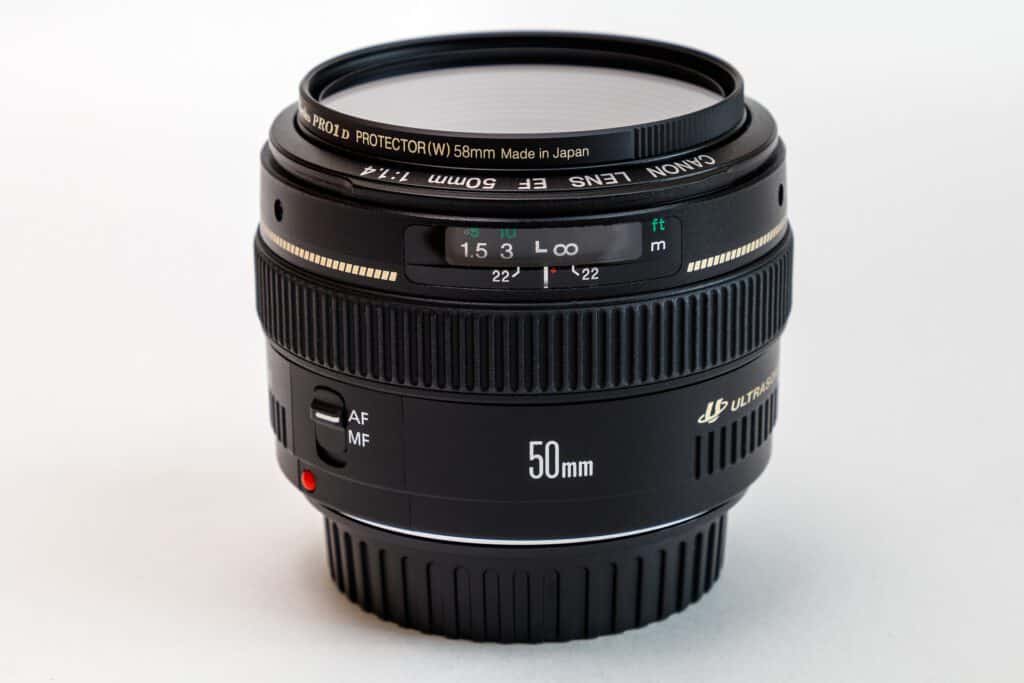
Tip 6: Use a Prime Lens
For analog cameras there are zoom lenses (for example with focal lengths of 24-70mm and 70-200mm) as well as fixed focal lengths (for example with 28mm, 50mm, 70mm, 85mm, 135mm and many more).
The advantage of fixed focal lengths for you is that they have more open apertures. This way you get more background blur on your pictures and you can use your camera better in darker situations.
Here you can see a (slightly newer) fixed focal length, in this example from Canon:
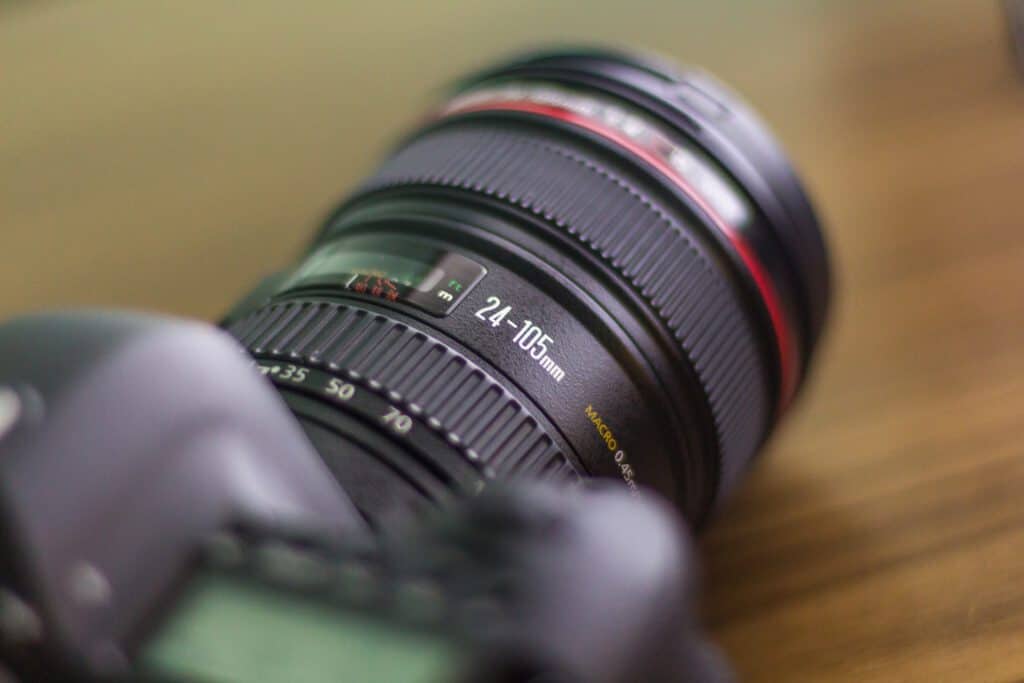
The only advantage of zoom lenses is that you need fewer lenses, of course. For example, if you have a 24-105mm zoom lens, you can shoot as both a wide-angle lens and a telephoto lens.
Here you can see a 24-105mm zoom lens from Canon:
However, fixed focal lengths are also much sharper than zoom lenses, so they are better for you.
Tip 7: Use the right focal length for the right situation
With wide-angle lenses you have a larger field of view than the human eye. With a telephoto lens you have a much smaller field of view, but you are much closer than with the human eye.
Now, of course, the question is when you should use which focal length.
For example, if you want to photograph streets or houses, you should always have a wide-angle lens (for example 18mm or 24mm).
Here you can see a picture taken with a wide-angle lens:
Tip: If you have a newer iPhone (or other smartphone), you may have a wide-angle camera installed. You can recognize it on the iPhone by the “x0.5” option, for example.
If this is the case, you can take some photos in your apartment with this camera, you will quickly see that your apartment looks much bigger on the photos than in real life.
If you take pictures of people (for example portraits), you should always use a lens that has approximately the image section of the person. For example, 50mm or 70mm focal lengths are suitable.
The human eye has a focal length of about 50mm. This is more or less what we are all used to on a daily basis. Therefore, if you are photographing people, you should use lenses with a focal length of about 50mm, because that’s what we are used to.
If you are photographing animals or sports, you should always use a telephoto lens. For example, 200mm or 300mm lenses are suitable.
Here you can see a picture taken with a telephoto lens:
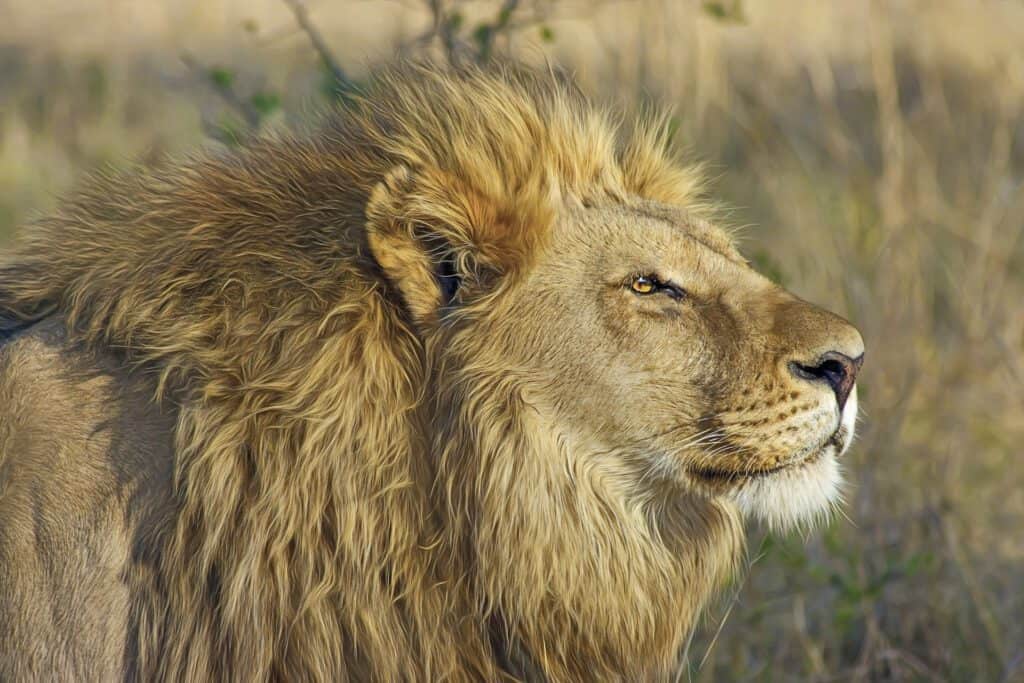
Wild animals are usually shy. That’s why you often don’t have the possibility to get close to them.
It’s the same with big sporting events. Here, too, most photographers don’t have the opportunity to walk onto the field to take photos.
That’s why you help yourself here by using lenses that sort of bring the subject close to you. Even though you are standing tens of meters or yards away, a telephoto lens still gives you the opportunity to take close-up photos of wild animals, for example.
Tip 8: Use manual focus
Most newer cameras come with a special feature: autofocus.
The advantage of autofocus is that you can quickly and easily focus on what you want to focus on.
But why shouldn’t you use it (for analog photography)?
Quite simply, analog photography is a kind of art, a way of personal expression. It’s much more about conveying a vibe, a certain feeling, than having a photo perfectly in focus.
Sometimes just that little “out of focus” creates an interesting and unique touch to your photo.
So instead of making sure everything is quick, easy and “perfect”, it’s much more about making it personal, with an eye for detail and “imperfect”.
Therefore, take your time and focus manually. Trust me: it will help you tremendously with the composition of your images.
To learn even more, you can watch this YouTube video:
Tip 9: Have your films developed in a professional lab
When I first started out, I made a mistake that annoyed me to no end: I had all my first films developed at the neighborhood discount store.
The result? The developed photos came back quickly, but looked really inferior. The colors were unnatural and generally everything was somehow “lifeless”.
That’s why it’s important for you to have your films developed in a good lab. The best photos are useless if they are not developed well.
And trust me: the results from professional labs are not at all comparable to those from the discount store around the corner.

Tip 10: Choose the right film
The film you put in your camera is one of the most important things that will determine how your photos look.
What is the sensor in a digital camera (and why some digital cameras are so expensive), is the film you put in an analog camera.
That’s why it’s very important for you to think about what’s important to you in the first place:
- Do you want to shoot in black and white?
- Do you want a lot of grain or preferably none at all?
- Do you want the sharpest possible image or one that is not so detailed?
- Do you want a lot of contrast or a little?
- Do you want bright or subdued colors?
And these are just some of the questions you should ask yourself to find the right (35mm) film for you.
As with almost all questions, there is no general answer. You have to see for yourself what is important to you.
However, here are some of the best 35mm films for you (including a brief description of when they might be relevant to you.
35mm films for beginners:
This 35mm film from Kodak is great for beginners. It’s relatively inexpensive and has great tones. It creates a vintage look to your images.
At the same time, it’s not suitable for professionals (though that shouldn’t matter to you at first). Also, it has relatively unique colors, as the film emphasizes blacks and colors are a bit paler. Either, you like the colors or, you don’t.
Here you can see a few sample images created with Kodak Gold 200 film:
This 35mm film from Fujifilm is for you if natural colors are important to you. Also an advantage is that the film is relatively widely available (chances are you can get it in the supermarket of your choice).
At the same time, in darker situations, the film does capture a slight greenish tinge. If you like the look, it’s not a problem for you, if you don’t like it, you’d better go for another film.
Ilford HP5 Plus 400 (Black and White)
If you want a black and white look, this film might be for you. With this 35mm film you get very sharp results. The dynamic range is also very wide.
At the same time, if colors are important to you, this analog film is obviously not for you.
In general, the right choice of your film is a category of its own. That’s why there will be many more articles about it on this magazine!
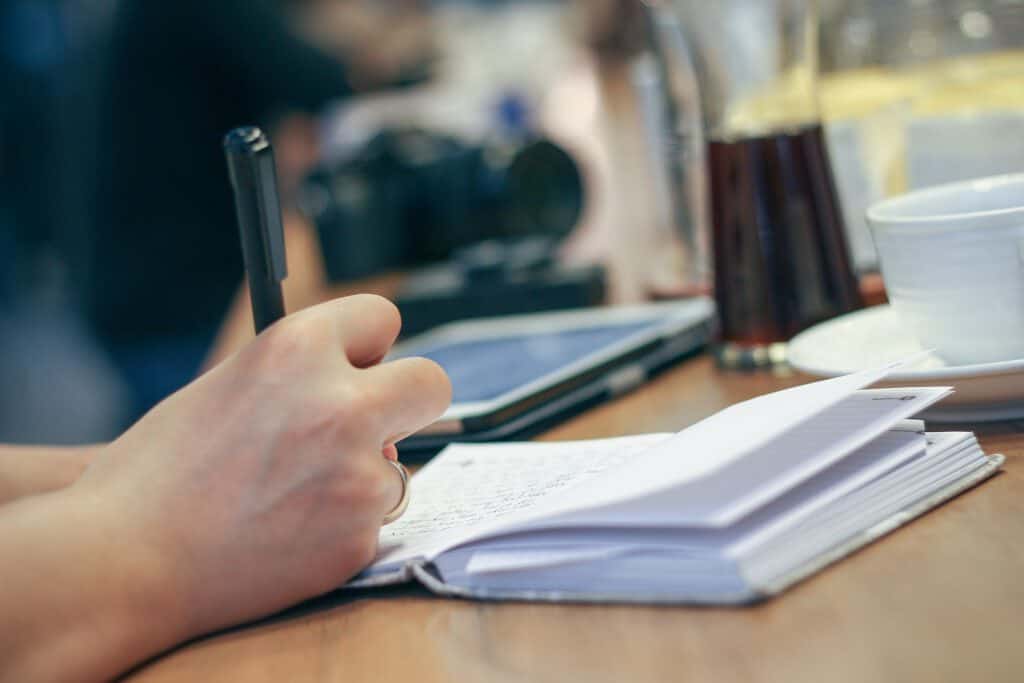
Tip 11: Take notes about your photos
To analyze your photos, it’s good to make notes about them. While digital cameras usually store a lot of information in the metadata, with analog cameras you still have to do it yourself.
I recommend you to write down the aperture (f/2.8 for example), the shutter speed (for example 1/125 second) and the ISO (for example 200).
It also makes sense to write down a few general points about the subject and the date to keep track.
Once you’ve made your notes, you’ll have an even better understanding of how shutter speed, aperture, and ISO affect your photos.
Example: If you see that a picture is totally blurred and then you see that you shot at a shutter speed of one second, you’ll know right away what the problem is.
If your image is completely underexposed and you shot at f/22, you’ll also know what’s wrong.
To make your notes, you can either create a table with Excel (one column aperture, one column shutter speed et cetera) or use a “logbook”.
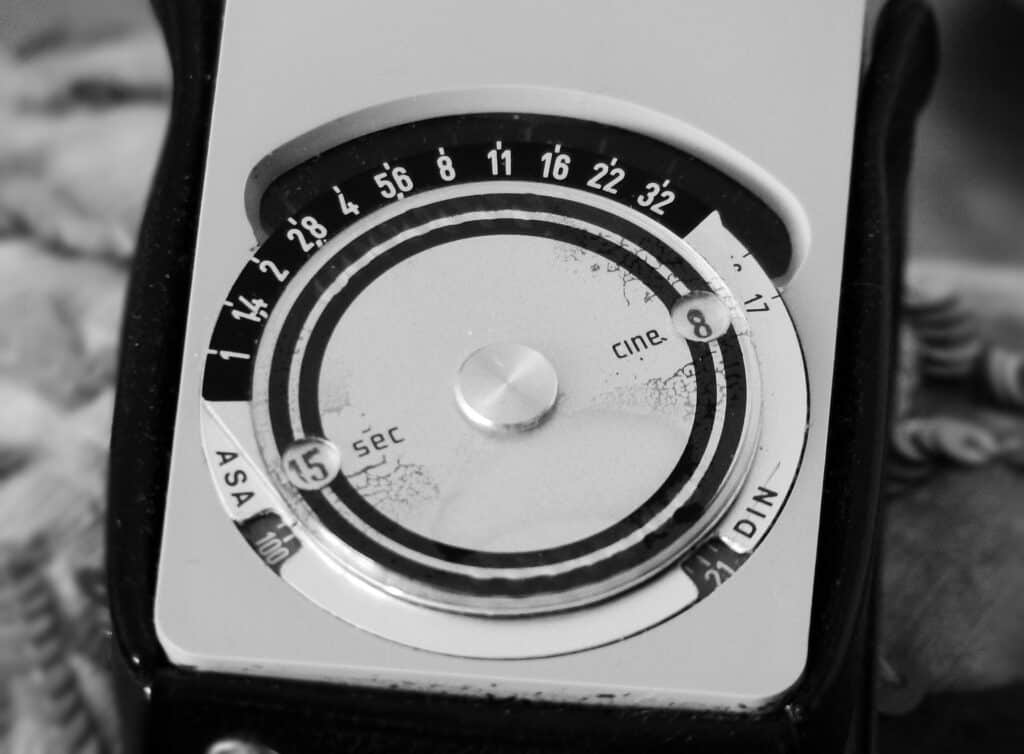
Tip 12: Use a light meter
Most newer cameras have a built-in light meter, older cameras usually don’t have a built-in light meter.
In this case you can buy an external light meter.
But what exactly does a light meter do?
A light meter tells you if your picture will be underexposed or overexposed. Most light meters use a scale from -3 to +3.
If you are in the minus range, your photos tend to be underexposed, if you are in the plus range, they are overexposed.
To estimate this, light meters take into account shutter speed, aperture, and ISO.
Tip 13: Ask Questions
This is one of the most important tips of all: you can save yourself a lot of time by simply asking.
I myself spent a lot of time in trial-and-error before I once asked a photographer friend what was specifically important (in terms of settings, but also composition).
In hindsight, I could have saved myself a lot of time if I had asked earlier.
Of course, asking doesn’t replace practice and practice. Nevertheless, it makes a lot of things easier for you.
That’s why my tip is to turn to other analog photographers when you have a specific question.
You might ask yourself: Who is the best person to ask?
There are several possibilities, I would like to show you the 3 most important ones:
1: People around you. If you have people around you who have been around analog photography for a while (or maybe even grew up with analog cameras), they can answer many of your questions.
2: People on the Internet. There are various forums about analog photography, whether on Facebook or on other websites. Here you can also ask your questions. The advantage: On the Internet you have access to a whole community that can help you.
3: Employees in photo stores and laboratories: Analog photography is coming back. There are also stores that specialize in analog photography, as well as photo labs. You can ask the staff there all sorts of things about your camera.
Summary and conclusion
That’s it, the 13 tips to get you started in analog photography.
Of course, this was only a very brief overview of some valuable tips.
If you click into the photography category on this magazine, you will find more interesting articles about (analog) photography.
In conclusion, nothing, really nothing, is as important as practice. Just take your camera with you when you go out.
You will quickly see how your photos improve almost by themselves (if you follow the basic tips).
I hope you enjoy exploring the world of analog photography.


What are the Pedals on the Piano Doing? A Small Guide
The piano is one of the most used and most important instruments of all. You may have noticed that there...

What Is a Metronome And How Do I Use It? Let’s find out
If you’ve played an instrument, for example in bands, small ensembles, or in an orchestra, you’ve probably already played with...

13 Valuable Analog Photography Tips For Beginners
If you’re starting to get into film photography, you probably have a question: What’s the best way to get started...
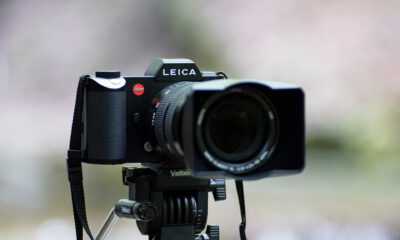

Is A Leica Worth It? (What you should know)
Leica is one of the most traditional manufacturers of premium camera equipment. I myself shoot, besides Canon (and sometimes Sony)...


Are My Piano Keys Made Of Ivory? (How To Recognize It)
Using ivory for jewelry, for example, but also for piano keys, has not been allowed in many parts of the...


Can Piano Sheet Music Be Used For Other Instruments?
Piano sheet music and scores are available for almost every piece of music that exists. Whether classical, modern, pop, rock,...

Why Do Bass Amps Need More Wattage? (Simply explained)
If you look at the wattages of guitar amps and bass amps, you’ll quickly notice that bass amps have much...


Can You Use A Guitar Amplifier For A Digital Piano?
Most electric pianos do not have good built-in speakers. If you want to use them on a stage, you always...


Do Guitar Amplifiers Work For Microphones? Explained in 2 minutes
Many people who play guitar and sing ask themselves whether guitar amplifiers can also be used for microphones. The advantages...


Can You Use Normal Speakers As Studio Monitors? The Simple Answer
When you start producing music, you very quickly come across the term “studio monitor”. Even if you are in a...
- Home Recording2 years ago
Can You Use Normal Speakers As Studio Monitors? The Simple Answer
- Photography2 years ago
Is A Leica Worth It? (What you should know)
- Music Production2 years ago
Can Piano Sheet Music Be Used For Other Instruments?
- Music Production2 years ago
Are My Piano Keys Made Of Ivory? (How To Recognize It)